Peppermint Brownies
November 26, 2017
No Comments
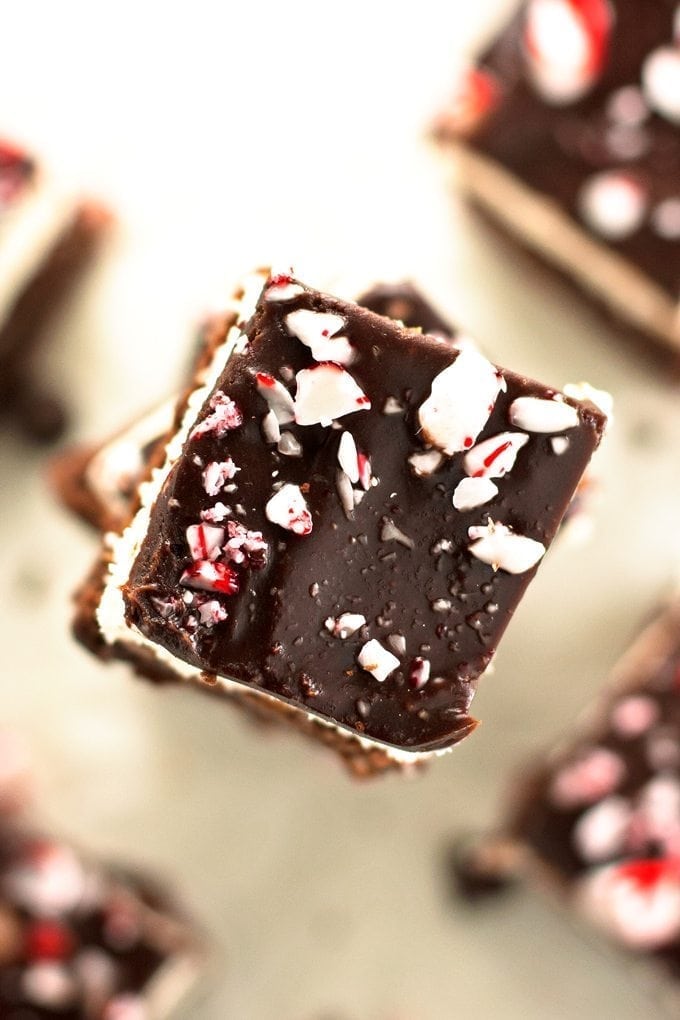
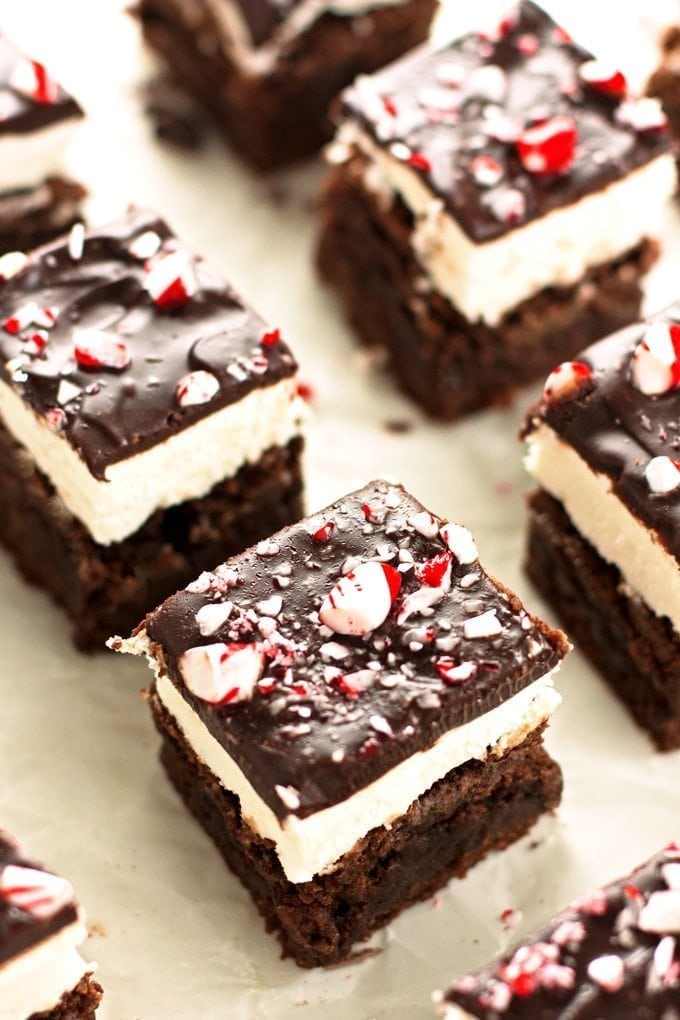
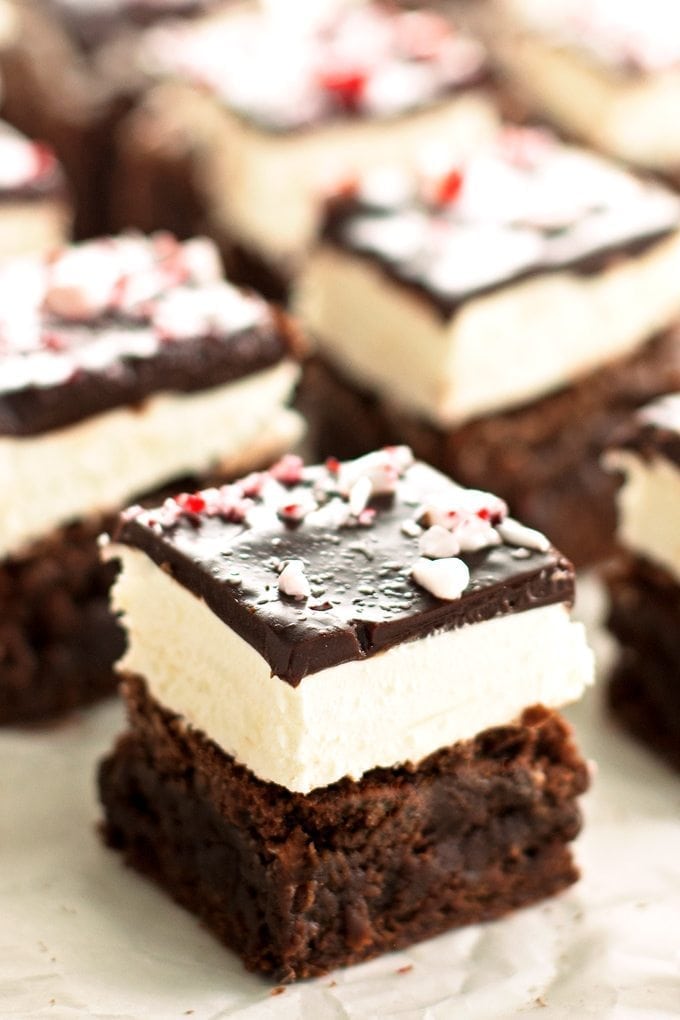
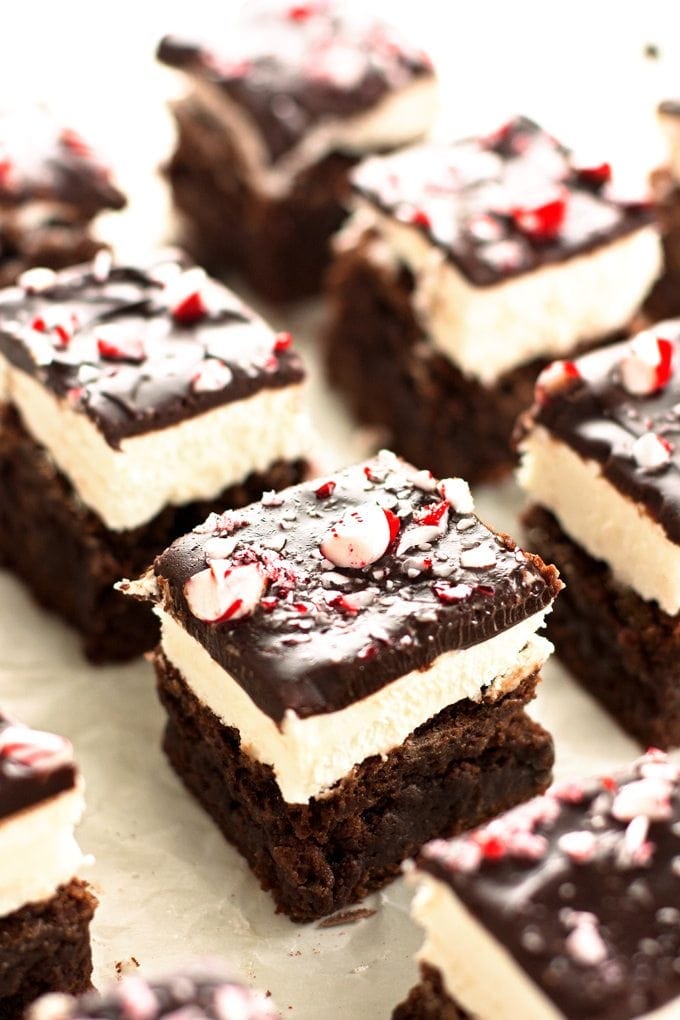
The only thing that can improve chocolate brownies? Peppermint! To kickoff the holiday season, today I’m sharing this delicious peppermint brownies recipe. Celebrate the holidays with layers of fudgy peppermint brownies, creamy peppermint buttercream frosting, a rich layer of chocolate ganache, and crushed candy canes 🙂
 Tap any photo to Pin
I hope everyone had a wonderful Thanksgiving! Although I’ll miss the fall flavors, I’m excited to start cooking with classic holiday flavors again – welcome back eggnog, gingerbread, and of course peppermint! To kickoff the season, today I’m sharing these delicious peppermint brownies with all of you. These brownies are thick, rich and satisfying, yet, thanks to the peppermint, still light and refreshing. I could may eat the whole batch. (Don’t tell Chris!).
When making these peppermint brownies it’s important not to the burn the chocolate when melting it. To prevent burning, first heat the butter alone on low heat. Once the butter has melted, add the chocolate (all at once should be fine) and stir continuously until the chocolate is completely melted and smooth. This really only takes a minute, and is always much quicker than I think it will be.
A quick aside: if you don’t have enough semi sweet chocolate on hand to make these peppermint brownies, you can substitute cocoa powder in the brownie recipe. I’d recommend making my cocoa brownies recipe in that case. You can get the a delicious peppermint flavor with that recipe by adding 1 teaspoon peppermint extract when you add the vanilla extract. Cocoa powder unfortunately won’t cut it for the ganache, so you will need some chocolate chips or baking chocolate if you want to coat your brownies in fudgy chocolate 🙂
Once the chocolate has all melted, remove the mixture from the heat. I usually put it in the fridge to cool it off faster. It needs to cool back to room temperature so the eggs don’t cook in the next step. 15 minutes in the fridge should do the trick.
All you super-smarties out there probably already know this, but you’ll want to make sure the extract you use is peppermint and not just mint. Regular mint is more like spearmint (think toothpaste). This is not the mint you are looking for.
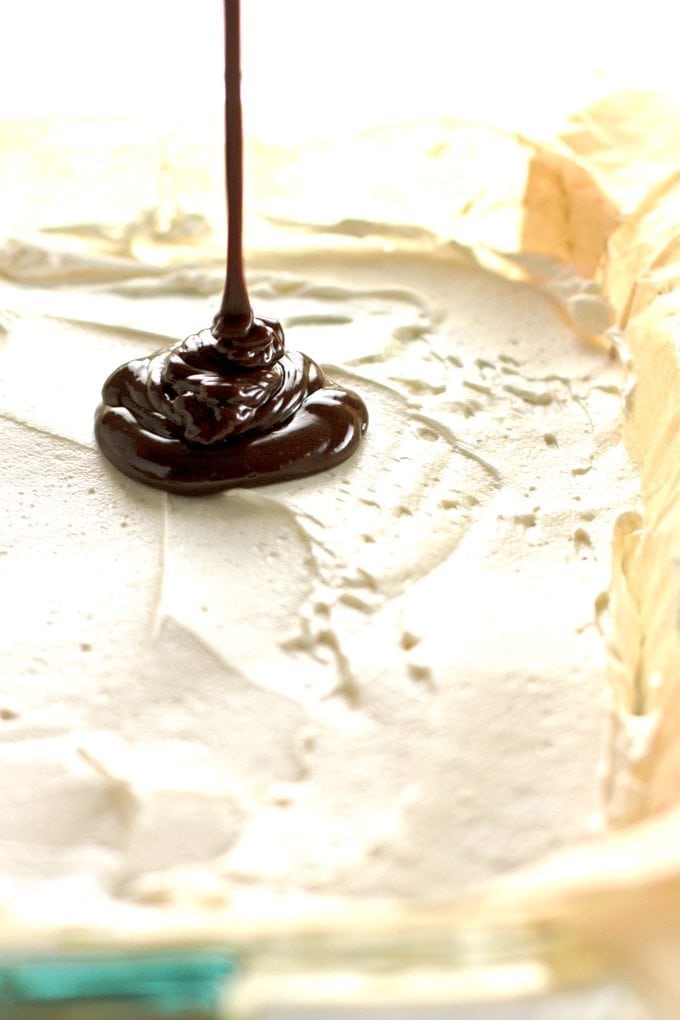
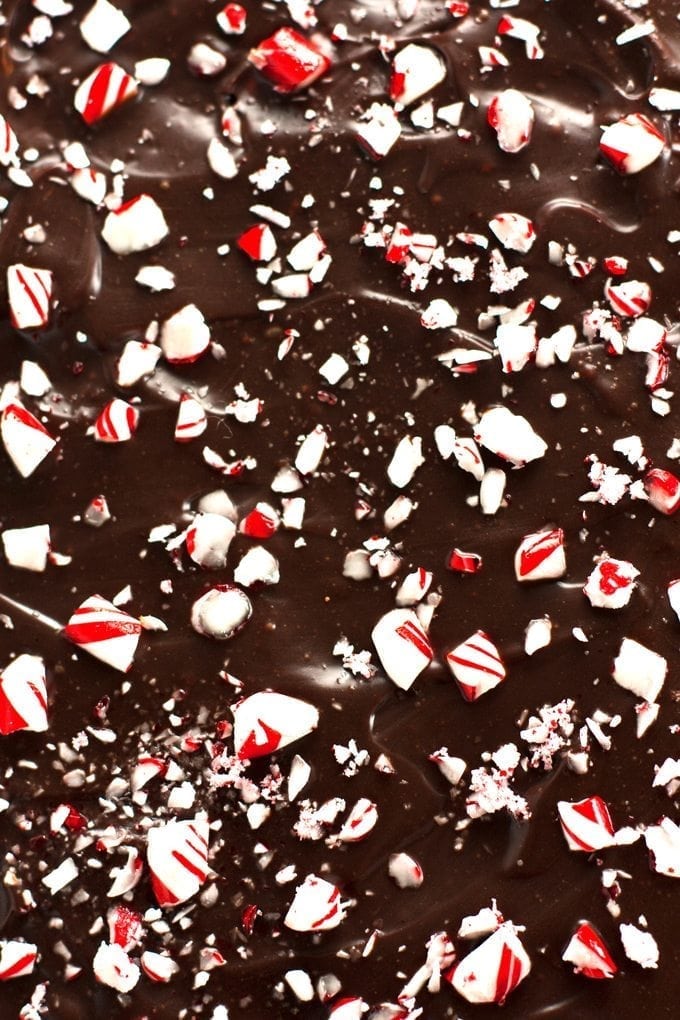
Once the peppermint brownies are baked and frosted, we need to put them back in fridge for 30 minutes. This makes it much easier to pour on the chocolate ganache (its worth the wait, I promise). The ganache not only provides an extra fudgy-ness that I love, it also holds the candy cane pieces. Festive, right?!
Once you finish topping the peppermint brownies you need to wait a teensy-bit longer to allow the ganache to set. Put them back in the fridge for an hour or so. This step makes the melted chocolate topping turn into a rich fudgy ganache layer. It will also make the peppermint brownies much easier to cut.
And here’s a few more yummy chocolate-peppermint treats to check out!
- Peppermint Chocolate Cupcakes – 2teaspoons
- Homemade Peppermint Patties – 2teaspoons
- Peppermint Chocolate Cookies – 2teaspoons
- Mint Chocolate Cheesecake Brownies – 2teaspoons
- Peppermint Bark – sally’s baking addiction
- Minty Chocolate Holiday Cake Bites – pinch of yum
Peppermint Brownies
Ingredients
BROWNIES
-
8 ounces by weight semi-sweet chocolate*
-
1/2 cup butter
-
1 cups sugar
-
3 large eggs
-
1 teaspoon peppermint extract
-
1 teaspoon vanilla extract
-
¾ cup flour
-
¼ teaspoon of salt
Frosting
-
1/2 cup butter softened
-
1 1/2 cups powdered sugar
-
2 teaspoons peppermint extract
-
1 teaspoons vanilla extract
-
pinch of salt
Chocolate Ganache Layer
-
4 ounces by weight semi-sweet chocolate*
-
1/4 cup heavy cream
TOPPINGS
-
crushed candy canes
Instructions
-
Make brownies by melting chocolate and butter in a large saucepan over low heat. Once butter is melted add chocolate chips and stir until melted and smooth, about 1 minute. Remove from heat and transfer to a large mixing bowl. Let cool completely, about 30-45 minutes on the counter or 15-20 minutes in the refrigerator.
-
Once chocolate is cooled, preheat oven to 350 degrees. Grease an 8x8 or 9x9 baking dish, or line with parchment paper.
-
Stir sugar into melted chocolate. Add one egg at a time, stirring until smooth between each egg. Stir in vanilla and peppermint then gently fold in flour and salt. Pour into prepared baking dish.
-
Bake until a toothpick comes out almost clean, about 35-45 minutes. Let cool completely on a wire rack.
-
Once brownies are completely cool, make the frosting by beating the softened butter using a stand mixer or electric mixer until smooth and creamy, about 3 minutes. Add powdered sugar, a splash of milk/cream, peppermint extract, vanilla extract, and a pinch of salt and beat on high until frosting is fluffy, about 1-3 minutes, scraping down sides when necessary. Add more cream if frosting is too thick or more powdered sugar if frosting is too thin. Once frosting has reached desired consistency add more peppermint extract and/or salt to taste if necessary.
-
Frost brownies and place in refrigerator for at least 30 minutes (this will make it easier to spread the ganache on the brownies).
-
Once brownies have been refrigerated, prepare ganache by heating the heavy cream for 30 seconds in the microwave until bubbling. Add the chocolate and stir until smooth. Let sit for 1 minute. Pour ganache over frosting, gently smoothing surface with a knife or spatula. Top with crushed candy canes. Refrigerator for at least 1 hour, until chocolate has set.
-
Once chocolate layer has set, remove brownies from refrigerator. If using parchment paper, lift brownies out of baking dish. Using a very sharp knife, carefully cut into delicious peppermint brownie pieces. Enjoy!
Recipe Notes
*I used chips but semi-sweet bakers chocolate would also work well.

